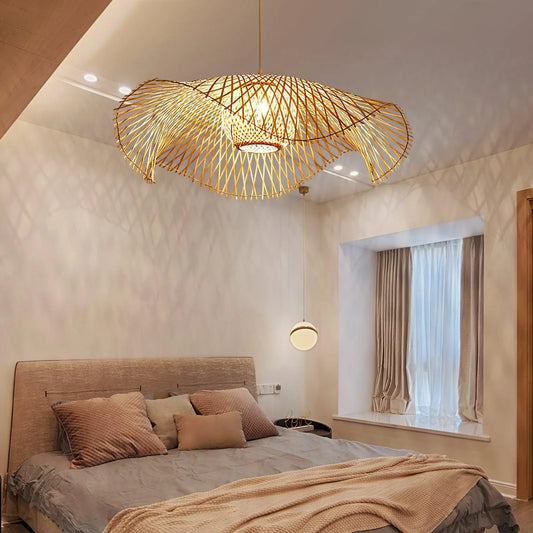
How To Make A Rattan Pendant Light?
hello rowabiLooking to add a touch of charm and creativity to your home decor? A rattan pendant light is the perfect way to elevate any space with a natural, timeless vibe. But why settle for store-bought when you can craft your very own?
With a little time and effort, you can design a one-of-a-kind piece that reflects your unique style. At Kloe Lighting, we’re all about inspiring creativity and offering ideas that blend beauty with functionality. Follow this fun and easy guide to create your own stunning rattan pendant light and light up your home with a personal touch!
How to make wireless rattan pendant light?
Creating a wireless rattan pendant light is not too difficult, but it does require you to be well-equipped and well-informed. Therefore, it’s essential to follow the instructions below carefully to ensure the best results.
Material
Before you start crafting a rattan pendant light, ensure that you have all the required materials ready.
The following table outlines the key materials needed to create a wireless rattan pendant light, simplifying the process of understanding and following the steps.
| Ingredient | Details |
| Rattan basket | 30cm in diameter, serves as the base for the pendant light |
| Cotton rope | 100% natural, 5mm thick, used for hanging purposes |
| LED puck lights | Remote-controlled LED lights for illumination |
| Installation kit | Contains a mounting plate for secure installation |
| Industrial adhesive Gun | 150-200W power for adhering materials together |
| Utility knife | Made of stainless steel, for cutting rope or rattan |
| Mounting tray | 25cm in diameter, supports the light structure |
| Wall anchors | 8mm with screws for attaching to the wall |
| Metal washers | 10mm in diameter, utilized for additional stability. |
Step-by-step
Here’s an easy and efficient guide on how to create a rattan pendant light.
Step 1: Prepare the rope
Cut three lengths of cotton rope, each approximately 5 1/2 feet long. Tie one end of all three ropes together to form a sturdy base for attaching the light fixture later. Set the knotted end aside for now.
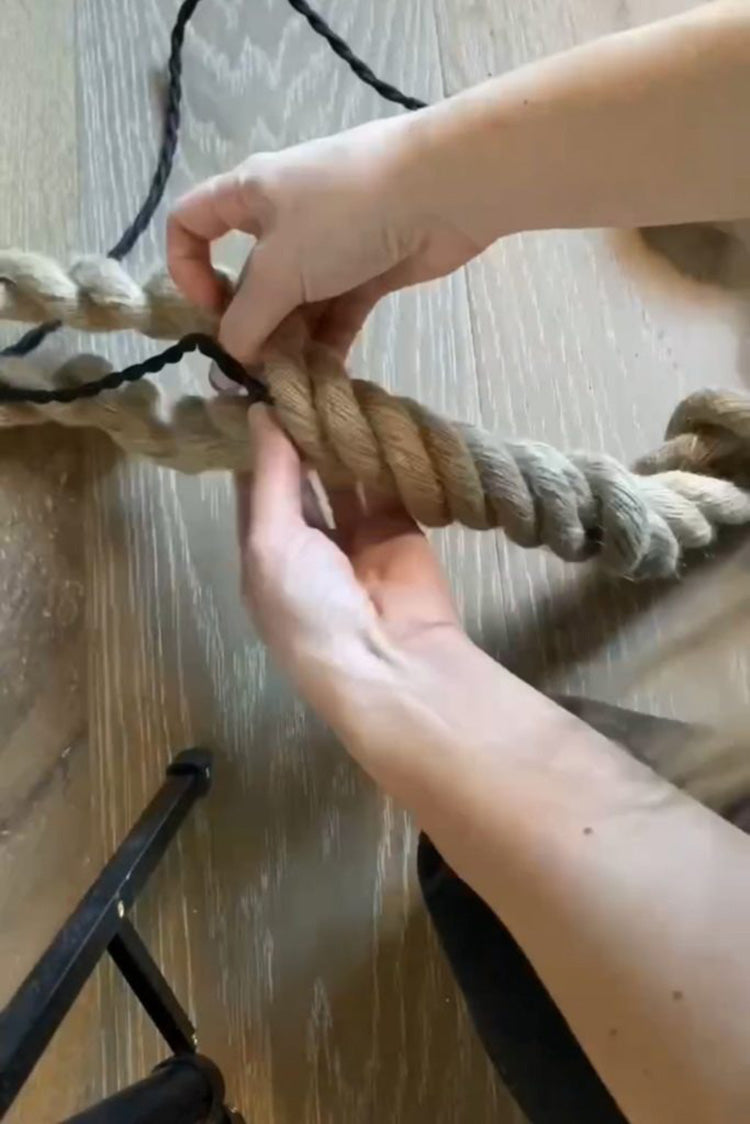
This knot will serve as the base for attaching your light fixture later. Source: Angela Rose Home (1)
Step 2: Make a hole in the basket
Utilize a utility knife to cut a hole in the center of the rattan basket. Ensure the hole is large enough to accommodate the rope. Pass the unknotted end of the rope through the hole and secure the edges with tape to avoid fraying. Pull the rope until the knot sits just below the hole.

Make the hole just large enough for the rope to pass through. Source: Van Tuong Global (2)
Step 3: Attach the puck light
Use hot glue to affix the knotted end of the rope to the battery cover of the puck light. Ensure it is secure yet still removable for convenient battery changes. Pull the rope up through the top of the basket for a polished appearance.

Apply hot glue generously to the battery cover of the puck light. Source: Van Tuong Global (3)
Step 4: Test the light and optional painting
Switch on the puck light to verify that it works properly. If you want to add a distinctive flair, consider spray painting the rattan basket with a metallic hue such as aged brass or soft gold to achieve a warm glow that complements any decor.

Switch on the puck light to ensure it works correctly. Source: Van Tuong Global (4)
Step 5: Install the pendant light
Pass the three strands of rope through the center hole of a mounting plate. Adjust the length to your preference, trimming any excess rope for a neat look. Securely attach the plate to the ceiling using screws and drywall anchors, adding washers to prevent the rope from slipping through.

Pass the three ropes through the center hole of a sturdy mounting plate. Source: Van Tuong Global (5)
Step 6: Alternative hanging method
For a more straightforward hanging option, you can install a ceiling hook, tie the ropes together, and hang the knot directly from the hook. This approach lends a relaxed, bohemian vibe to your space.
How to make wired rattan pendant light?
Ingredient
Before learning how to create a rattan pendant light, gather the following items:
| Component | Details |
| Rattan basket | Diameter: 35cm, Center-Bottom Weave Pattern |
| Light kit | E26/E27 Mount, Voltage: 90V-260V |
| LED globe bulb | Power: 15W, Color Temperature: 3000K (Warm White) |
| Installation hardware | High-quality mounting equipment |
| Safety mounting equipment | Includes all necessary safety fixtures |
Step-by-step
Making your rattan pendant light is an enjoyable and simple project that can bring a cozy, natural atmosphere to any room. Here’s a concise, easy-to-follow guide on how to create a rattan pendant light to help you begin:
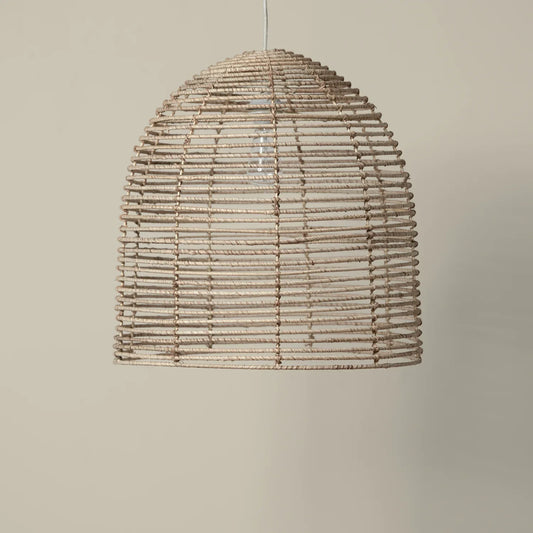
Step 1: Choose the right rattan basket
Select a rattan basket that has a clearly defined center at the bottom. Ensure it does not have any handles or obstructions, allowing it to sit securely.

A tighter weave provides diffused lighting with minimal shadow patterns. Source: Van Tuong Global (6)
Step 2: Create an opening in the basket
Utilize cutting pliers to make a hole in the bottom of the basket. The hole should be large enough for the light socket to pass through but slightly smaller than the shade ring to keep the basket stable.
Step 3: Attach the basket
Position the basket over the light socket until it reaches the base. Then, secure the shade ring to the socket to hold the basket in place, with the socket bearing the weight.

Ensure it's tight to prevent wobbling. Source: Van Tuong Global (7)
Step 4: Add the light bulb
After the basket is securely attached, insert a decorative light bulb. A round bulb is ideal for emitting a soft, warm light.

Turn off the power at the switch before inserting the bulb. Source: Van Tuong Global (8)
Step 5: Check the light & optional enhancements
Switch on the light to ensure everything functions correctly. For an added touch of style, consider spray painting the rattan with a hint of aged brass or muted gold for a stylish and welcoming appearance.
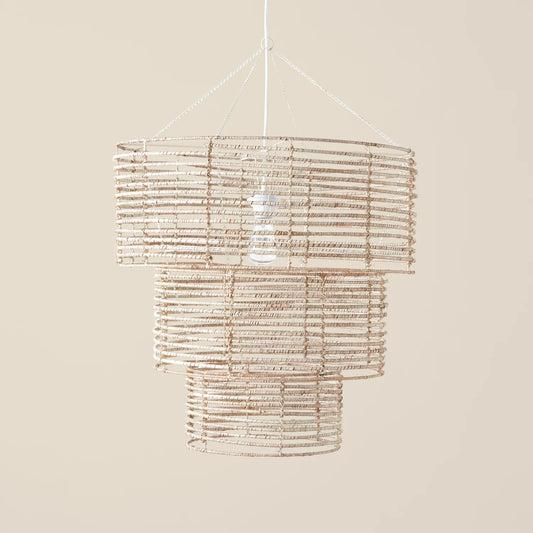
Things to keep in mind when how to make a rattan pendant light at home
When creating a rattan pendant light at home, it's essential to take into account various important factors to guarantee both safety and visual appeal. Here are some crucial tips to remember:

It's crucial to consider safety, material quality, and design aspects to ensure a functional, durable, and visually appealing final product. Source: Rowabi (9)
Safety tips
Use protective gloves: Always put on gloves to safeguard your hands from cuts or splinters while handling rattan or other materials.
Keep tools sharp: Make sure that scissors, knives, and saws are sharp and well-maintained. Always cut away from your body to prevent injuries.
Practice electrical safety: Utilize insulated wires and adhere to standard electrical safety guidelines when setting up the light socket. Check all electrical components before incorporating them into the rattan structure to ensure proper functionality.
Prevent overheating: Be cautious about how close the rattan is to the light bulb. Choose low-heat LED bulbs to protect the material, as high-heat incandescent bulbs can harm the rattan.
Material selection
Rattan basket: Pick a robust rattan basket that is free from sharp edges. It should feature a clearly defined center at the bottom to facilitate easy installation, ensuring a stable base for the light fixture.
Light kit: Choose a high-quality E26/E27 light socket with strong wiring capable of handling the wattage of your selected bulb.
Bulb choice: Always prefer LED bulbs since they generate less heat and are more energy-efficient. Ensure that the wattage of the bulbs is appropriate for the size of the rattan basket.
Installation guidelines
Safe wiring: Verify that all wiring connections are secure to prevent electrical risks. If you have any doubts about managing electrical parts, seek advice from a professional.
Installation: Confirm that the pendant light is firmly installed on the ceiling with adequate supports to bear its weight, particularly when using heavier rattan baskets.
Secure fastening: Ensure that the basket is tightly connected to the light socket and that the shade ring is properly tightened to avoid any shifting.
Design and sizing
Size: Ensure that the dimensions of your rattan basket are appropriate for the area where you plan to hang the light. A large pendant could dominate a small space, whereas a smaller basket may not illuminate a larger area adequately.
Height: Hang the pendant light at a suitable height. It should offer sufficient illumination without blocking sightlines or making the room feel cramped.
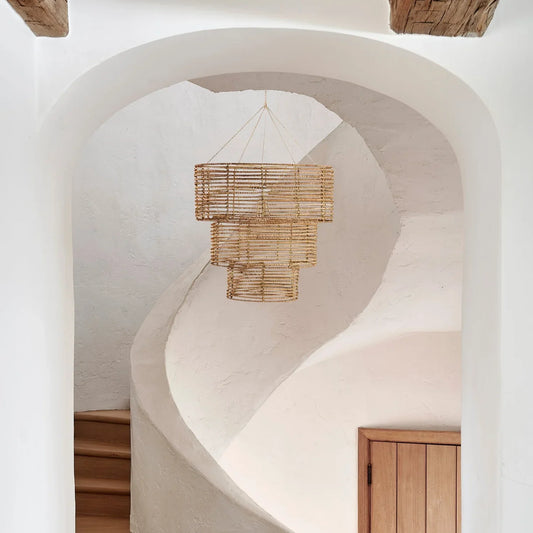
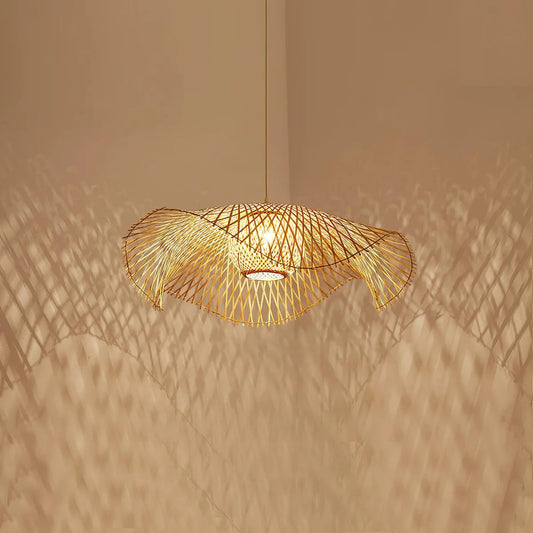
Style compatibility: Select a rattan basket that enhances the decor of your room. Rattan is adaptable and works well with styles such as rustic, coastal, bohemian, or Scandinavian.
Personalizing the appearance: If you wish, you can apply a metallic paint finish like gold or bronze to the rattan for a contemporary aesthetic, or you can leave it in its natural state for a more rustic feel.
FAQs
How long does it take to make a rattan pendant light from start to finish?
- The duration required to craft a rattan pendant light can differ based on your expertise and the intricacy of the design. Typically, it may take between 4 to 8 hours for a simple design, which includes preparation, assembly, and wiring.
Which types of rattan are best for making a pendant light?
- The most suitable types of rattan for making a pendant light are flexible and sturdy varieties like natural rattan or peeled rattan. These options provide a good mix of strength, flexibility for weaving, and an attractive, rustic appearance.
What common mistakes should be avoided when making a rattan pendant light?
- Common pitfalls to steer clear of include using rattan that is too brittle or weak, incorrect wiring methods, failing to secure the light properly to the ceiling, and selecting a bulb that generates excessive heat, which could harm the rattan. Always ensure that all electrical components are tested prior to assembly.
How to choose the right size and shape of a rattan pendant light based on room size?
- When selecting a rattan pendant light, take into account the size of the room and the area above your dining table or seating arrangement. A general guideline is that the diameter of the light should be one-third to one-half the width of the table. For smaller spaces, choose a more compact design, while larger areas can accommodate bigger pendant lights. The shape should enhance the overall style and layout of the room.
Conclusion
This guide has walked you through the essentials of crafting your own rattan pendant light, turning a simple DIY project into a statement piece for your home. But beyond just following the steps, the real magic lies in making it uniquely yours.
With the tips and ideas we've shared, we hope to spark your creativity—encouraging you to experiment with shapes, finishes, and styles that truly reflect your personality. So go ahead, bring your vision to life, and let your handcrafted pendant light be more than just an illumination source—it’s a story, a conversation starter, and a reflection of your artistic touch!
Source of image:
- [1]: https://angelarosehome.com/wp-content/uploads/2022/02/2-6-683x1024.jpg
- [2]: https://vantuongglobal.com/wp-content/uploads/2024/12/how-to-make-a-rattan-pendant-light-14.jpg
- [3]: https://vantuongglobal.com/wp-content/uploads/2024/12/how-to-make-a-rattan-pendant-light-1.jpg
- [4]: https://vantuongglobal.com/wp-content/uploads/2024/12/how-to-make-a-rattan-pendant-light-2.jpg
- [5]: https://vantuongglobal.com/wp-content/uploads/2024/12/how-to-make-a-rattan-pendant-light-3.jpg
- [6]: https://vantuongglobal.com/wp-content/uploads/2024/12/how-to-make-a-rattan-pendant-light-6.jpg
- [7]: https://vantuongglobal.com/wp-content/uploads/2024/12/how-to-make-a-rattan-pendant-light-8.jpg
- [8]: https://vantuongglobal.com/wp-content/uploads/2024/12/how-to-make-a-rattan-pendant-light-9.jpg
- [9]: https://cdn.shopify.com/s/files/1/0629/8576/5122/files/over-the-past-few-years-rattan-has-gained-popularity-as-a-preferred-material-for-crafting-furniture.jpg